
Introduction
Invitations carry more weight than many event organizers expect. They communicate tone, clarity, and organization before a guest ever responds. Whether for a milestone birthday, wedding, product launch, or nonprofit fundraiser, the invitation functions as both an information sheet and a first impression.
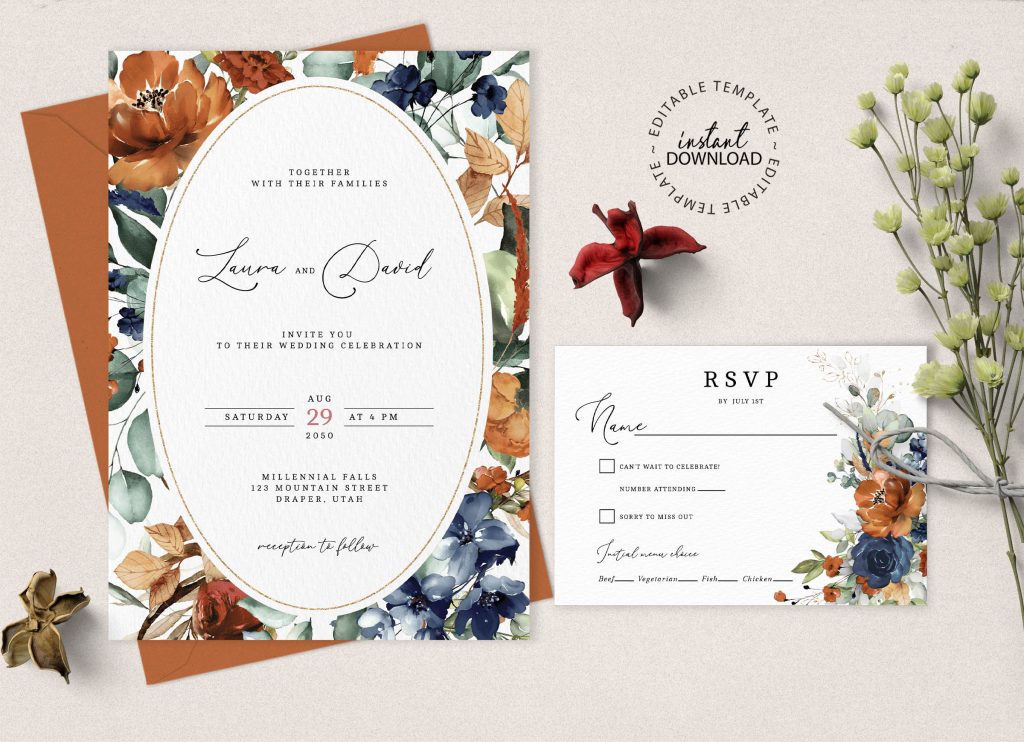
For individuals and small teams without formal design training, custom invitation makers reduce the technical barrier. These tools provide structured templates, predefined print sizes, and built-in export settings. Instead of designing from a blank canvas, users modify layouts that already account for hierarchy, spacing, and alignment.
One accessible workflow is to print custom invitations from Adobe Express, which offers browser-based templates formatted for print. Custom invitation makers as a category also support layout editing, font control, export management, and RSVP integration—making them practical for quick turnaround projects.
The steps below outline how to move from template selection to final print submission, including formatting checks and RSVP setup.
Step-by-Step Guide to Using Custom Invitation Makers
Step 1: Start With a Print-Ready Template
Goal
Select a structured layout that already solves formatting and spacing issues.
How to do it
- Browse event-specific templates (wedding, party, corporate, fundraiser).
- Confirm the document size (e.g., 5×7 inches or A6).
- Duplicate the template before editing.
- Review placeholder text and section order.
- Check whether the template includes bleed margins for print.
What to watch for
- Social-media-sized templates that are not print formatted.
- Overly decorative fonts that reduce readability.
- Layouts with text placed too close to trim edges.
Tool notes
If you plan to collect digital RSVPs, Google Forms (form builder) can be linked from your invitation via QR code or short URL without requiring additional design changes.
Step 2: Customize Fonts, Colors, and Visual Identity
Goal
Adapt the template to reflect your event’s theme while preserving clarity.
How to do it
- Replace placeholder text with event details.
- Limit font combinations to two or three styles.
- Insert a logo or monogram if relevant.
- Apply brand or theme colors consistently.
- Use alignment guides to keep spacing uniform.
What to watch for
- Mixing too many font weights.
- Low-contrast color combinations.
- Stretching or distorting logos.
Tool notes
Coolors (color palette generator) can help create balanced color combinations if you are unsure how to pair hues effectively.
Step 3: Structure Event Details for Immediate Clarity
Goal
Ensure essential information is easy to locate at a glance.
How to do it
- Place the event name prominently at the top.
- Clearly list date, time, and full location details.
- Add brief context (e.g., dress code or theme).
- Include RSVP deadline.
- Double-check spelling and formatting consistency.
What to watch for
- Ambiguous date formats (e.g., 05/04/26).
- Crowded text blocks.
- Inconsistent capitalization.
Tool notes
Grammarly (writing assistant) can help review grammar and clarity before exporting your final version.
Step 4: Add and Test RSVP Tracking
Goal
Make it simple for guests to confirm attendance.
How to do it
- Decide on digital, phone, or mail-in RSVP.
- Insert a short URL or QR code for online responses.
- Connect the RSVP form to email notifications.
- Test the link or QR code before final export.
- Set a clear RSVP deadline on the invitation.
What to watch for
- Long URLs that disrupt layout.
- QR codes placed too close to edges.
- Missing confirmation messages in the RSVP form.
Tool notes
Mailchimp (email marketing platform) can collect and organize RSVP responses if you prefer email-based confirmation tracking.
Step 5: Export a Print-Ready File
Goal
Produce a file that meets professional printing standards.
How to do it
- Confirm resolution is at least 300 DPI.
- Enable bleed settings if printing edge-to-edge.
- Export as a high-quality PDF.
- Preview the file at 100% zoom.
- Review margins and trim guides carefully.
What to watch for
- Blurry images from low-resolution uploads.
- Missing bleed leading to white edges.
- Unexpected layout shifts in PDF preview.
Tool notes
Adobe Acrobat Reader (PDF viewer) can be used to inspect final print files at full resolution before sending to a printer.
Step 6: Finalize Printing and Distribution Logistics
Goal
Confirm production details and prepare for mailing or hand delivery.
How to do it
- Choose paper weight and finish.
- Confirm quantity, including extras.
- Verify envelope size compatibility.
- Review production timeline.
- Save the exact print-ready file submitted to the printer.
What to watch for
- Paper thickness affecting postage cost.
- Turnaround times during peak seasons.
- Submitting an outdated file version.
Tool notes
ShipStation (shipping management software) can help organize bulk mailing logistics once invitations are printed.
Common Workflow Variations
Photo-Centered Invitations
Select templates with large image areas and ensure uploaded photos are high resolution. Avoid heavy filters that may shift color in print.
Minimalist Invitations
Focus on typography and spacing rather than decorative graphics. Balanced white space enhances legibility.
Digital-Only Invitations
Export optimized JPEG or PNG files. Ensure RSVP links function across devices.
Small-Batch Printing
Request proofs when possible. Order extra copies to account for last-minute additions.
Checklists
Before You Start Checklist
- Final event details confirmed
- Logo or graphics prepared
- Color theme selected
- RSVP method chosen
- Print dimensions identified
- Paper preferences decided
- Deadline for production set
Pre-Export Checklist
- Resolution set to 300 DPI
- Bleed margins verified
- Spelling and grammar reviewed
- QR codes tested
- File exported in correct format
- Quantity and paper details reconfirmed
Common Issues and Fixes
Images look pixelated in print
Replace with higher-resolution files.
Text trimmed at edges
Adjust safe margins and enable bleed.
Colors appear dull
Preview in print mode and avoid extreme saturation.
Layout shifts after edits
Recheck alignment after every content change.
QR code not scanning
Increase size and improve contrast.
How To Use Custom Invitation Makers: FAQs
Is professional design experience required?
No. Templates provide layout structure, allowing users to focus on content and minor visual adjustments.
Should I design for print first?
Yes, if printing is required. Digital versions can be exported afterward.
How many fonts are appropriate?
Two to three type styles typically maintain clarity.
What is the fastest workflow for beginners?
Start with a structured template, edit text only, then export as a print-ready PDF.
