Table of Contents
INTRODUCTION

Any appearance can be enhanced by the lovely and sophisticated French braid crown. Learning this technique can help you either to accentuate your daily style or get ready for a big event like a prom or a wedding. We will walk you through everything you need to know in this all-encompassing tutorial to produce a beautiful French braid crown step by hand.
Combining the royal look of a crown with the complex beauty of braiding, the French braid crown is a traditional haughtie. For formal occasions, laid-back gatherings, or even a daily workday, this hairdo is flexible enough. It not only looks great but also helps to keep your hair orderly in place.
To help you get this amazing style, this article will go over the basic tools you need, the French braiding technique, and thorough, exact step-by-step directions. This guide will help you to get the confidence to design your own French braid crown and wow everyone around you.
What You Want?
Gathering all the tools you will need to design your French braid crown is crucial before you start. Here is a complete list:
Brush for Hair
Before you start braiding, your hair must be detangled with a decent quality hairbrush. Choose a wide-tooth comb or a paddle brush to guarantee knot-free and smooth hair.
Hair Tie Styles
You will want some hair ties, ideally in colors that complement your hair or in clear, transparent choices. While colored hair ties could provide a delightful pop to your hairstyle, clear hair ties are ideal for mixing in. To make sure your hair stays firmly, choose small, robust ties.
Bobby Pins or Hairpins
Once you have built the crown, these are crucial to keeping your braid in place. Having several on hand helps you ensure your braid stays put all through the day.
Optional Hair Spray
Although it’s not required, a lightweight hairspray can help keep your braid in place and lower frizz. Look for a product that gives grip without stiffening your hair.
Mirror
Making a French braid crown calls for a decent mirror. While a wall-mounted mirror lets you better examine your whole style, a handheld mirror will let you see the back of your head.
Other Advice
Start with neat, dry hair. If your hair often gets frizzy, think about smoothing it out before braiding with a leave-in conditioner or serum.
Learning the Foundations of French Braiding
Knowing what a French braid is and how it varies from other kinds of braids will help you better appreciate the processes.
A French Braid is What?
A French braid is a kind of braid in which you weave hair together from the sides. This method produces a tight braid close to the head that can be dressed in many ways, including the crown style we are concentrating on.
Variations Between a French and a Standard Braid
A regular braid consists of three pieces of hair twisted together; a French braid starts at the scalp and progressively adds more hair as you descend. This approach produces a polished, elegant yet flawless, integrated look.
Typical Errors to Avoid
- Lopsided Braids: To prevent a lopsided braid, make sure every part has an equal degree of tension.
- Inconsistent Size: Try to make the hair you are adding to the braid fairly similar in size for a more neat appearance.
- Hurrying the Process: As hurrying can result in errors, take your time to guarantee every step is finished correctly.
Check Out: Tips for Perfect Beach Waves with Short Hair 2024.
Methodical Guideline Notes

Knowing the tools and techniques of French braiding will help you to follow the detailed directions.
Ready Your Hair
Eliminate any knots or tangles in your hair with your brush. Working your way up from the ends will help to minimize breaking. If your hair is frizzy, gently smooth it out with a little leave-in conditioner or serum.
Chapter Your Hair
Section off the top layer of your hair using fingers or a comb. This is where you will start your French braid.
Safeguard the Rest
To keep the bottom pieces out of the way and avoid them from messing your braid, clip or tie them.
Start the French Braid
- Get the Top Section Together: About two to three inches wide, take a little chunk from the front of your hair. Part this into three equal sections.
- Begin Braiding: Start braiding by crossing the right segment across the middle section, then the left section across the newly middle section. This is comparable to starting a regular braid.
- Add Hair: Start adding hair to every section following the first few crosses. Add a tiny bit of hair from the right side to the right part, for example, before crossing the right section over the middle.
Keep Braiding
Continue this process, adding hair from the sides as you descend. Make sure your section widths and even tension remain constant. Once you get to your neck’s nape and have worked completely through your hair, keep braiding the three pieces down to the ends.
Hold the Braid Securely
Knot off the braid at its end with a hair tie. Make sure it’s tight enough to retain the braid without excessively tugging your hair.
Create the Crown Effect
Take the braid and gently round the base of your head to create a crown form. Reposition yourself to suit you. Securing the braid in place will require bobby pins or hairpins. Stick it tightly to prevent any slide.
Last Corrections
To get a broader effect, if desired, gently tug on portions of the braid. Your crown might have softness and fullness added by this approach. Optional hairspray should be sprayed softly over your hairstyle to maintain everything in place and lower frizz.
Guidelines for a Perfect French Braid Crown
Gaining Neatness
Maintaining constant tension will ensure a consistent and polished appearance of the braid.
Changing for Various Hair Types
- Thick Hair: Consider adding more hair to the braid using bigger sections to simplify management.
- Fine Hair: Use smaller portions and some volumizing mousse before beginning to create the illusion of fuller hair.
Adding Accessories
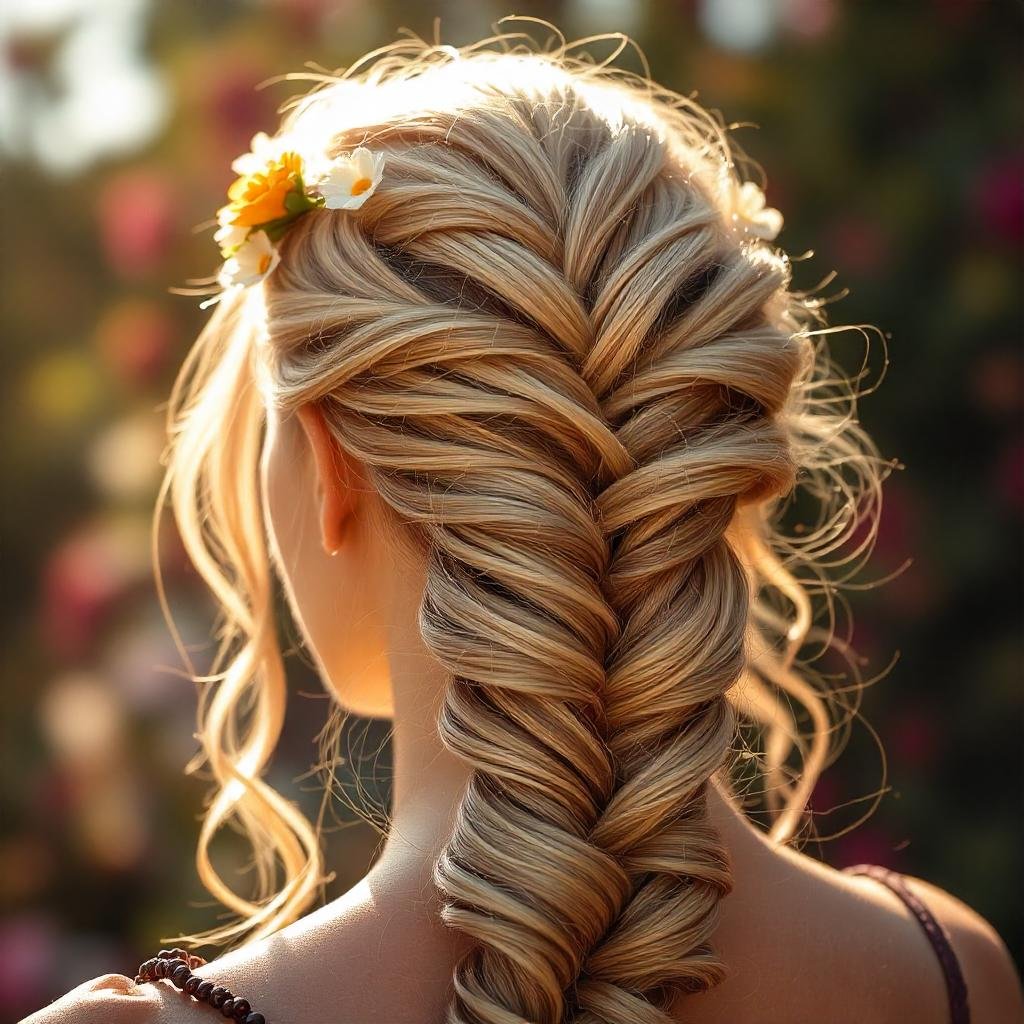
- Floral Elements: For a romantic touch on important events, think about adding hairpins or little flowers to the braid.
- Ribbons or Ornate Pins: Incorporate matching ribbons or ornate pins to accentuate the crown impression based on your clothing.
Troubleshooting Typical Issues
Sloppy or Messy Braids
If your braid seems slack, gently tug on the parts to tighten them. For extra security, you might also add more bobby pins.
Unequal Sections
If you find that one side of your mid-braid is thicker than the other, gently pluck some hair from the thicker side to redistribute.
Managing Frizz or Flyaways
Taming frizz with a lightweight serum or smoothing cream will help. Apply it sparingly to prevent dragging the hair down.
Conclusion
Making a French braid crown will transform your appearance and be a satisfying task. Practice will help you perfect this sophisticated haircut and modify it for different events. Don’t hesitate to try out different styles and accessories; keep in mind to take your time and follow the guidelines precisely.
You will discover your own, most effective tactics and approaches as you practice. So gather your supplies, follow this advice, and savor building your gorgeous French braid crown!
For more details click the link : Click Here.
Questions of Frequency
How long does a French braid crown usually last?
Hair type and styling products used will affect the lifetime of a French braid crown. With correct securing methods, it usually lasts all day.
Can I make a short hair French braid crown?
Definitely! Using smaller portions and ensuring you have enough length to work with can help you produce a lovely crown, even if it might be a little more difficult.
Are there different ways to wear a French braid crown?
To create original looks, try fishtail braids, Dutch braids, or even half-up versions.


